Creating a wood storage box is a rewarding project that combines creativity with practical skills. Whether you need a place to store your tools, toys, or keepsakes, a handcrafted wooden box can be both functional and aesthetically pleasing. This guide will walk you through the process of crafting a beautiful wood storage box, from selecting materials to finishing touches. By the end of this guide, you will have the knowledge and confidence to create your own unique storage solution.
Table of Contents
Materials Needed
To create your wood storage box, you will need the following materials:
– Wood: Choose a type of wood that suits your style and budget. Common choices include pine, oak, and plywood, each offering different aesthetics and durability.
– Wood Glue: For securing joints, wood glue is essential as it provides a strong bond that can withstand the test of time.
– Wood Screws: For added strength, especially in corners and joints, wood screws will help ensure your box remains sturdy and functional.
– Finish: Such as varnish, stain, or paint to protect and enhance the wood. The finish not only adds beauty but also protects the wood from moisture and wear.
Choosing the Right Wood
When selecting wood for your storage box, consider the following options:
– Pine: Affordable and easy to work with, making it ideal for beginners. Pine has a light color and a straight grain, which can be easily stained or painted.
– Oak: Durable and beautiful, but more expensive. Oak has a rich grain and is known for its strength, making it a great choice for a long-lasting box.
– Plywood: A cost-effective option that can be finished to look great. Plywood is made from layers of wood veneer, providing stability and resistance to warping.
Choosing the right wood not only affects the appearance of your box but also its durability and functionality. Consider the purpose of your box and the environment it will be in when making your selection.
Tools Required
You will need some basic tools to complete your project:
– Saw: A hand saw or power saw for cutting wood. A miter saw can be particularly useful for making precise cuts at angles.
– Drill: For making holes for screws. A cordless drill is convenient and allows for easy maneuverability.
– Screwdriver: To drive in screws. A power screwdriver can save time and effort, especially for larger projects.
– Sander: For smoothing edges and surfaces. An orbital sander can make the job quicker and more efficient than hand sanding.
– Measuring Tape: To ensure accurate dimensions. A good measuring tape is essential for achieving precise cuts and fitting pieces together.
Having the right tools will make your woodworking experience smoother and more enjoyable. If you’re new to woodworking, consider borrowing tools or purchasing them second-hand to keep costs down.
Step-by-Step Instructions
Step 1: Preparing the Wood
Start by selecting your wood pieces. Ensure they are free from defects like knots or cracks, as these can weaken the structure of your box. Measure and mark the dimensions of your box on the wood using a pencil. It’s helpful to create a simple sketch of your box design, including dimensions, to guide you through the process.
Step 2: Cutting the Pieces
Using your saw, cut the wood into the following pieces:
– Bottom: One piece, the size of the base of your box. This piece will determine the overall size of your storage box.
– Sides: Four pieces, two for the length and two for the width. Make sure these pieces are cut to the same height for a uniform look.
– Lid: One piece, slightly larger than the top of the box for an overhang. This will allow the lid to fit comfortably over the sides.
Take your time with this step, as accurate cuts are crucial for a well-fitting box. If you’re unsure about your cutting skills, practice on scrap wood first.
Step 3: Assembling the Box
1. Join the Sides: Use wood glue to attach the sides to the bottom piece. Apply glue to the edges of the bottom and press the side pieces into place. Reinforce with screws for added strength, drilling pilot holes to prevent the wood from splitting.
2. Check for Square: Ensure the corners are square by measuring diagonally from corner to corner. Adjust as necessary before the glue sets.
Assembling the box can be a bit tricky, especially if you’re working alone. Consider using clamps to hold the pieces together while the glue dries, ensuring a tight fit.
Step 4: Adding the Lid
1. Attach Hinges: Position the hinges on one side of the box and attach them securely. Make sure the hinges are aligned properly so that the lid opens and closes smoothly.
2. Test the Lid: Make sure the lid opens and closes smoothly. If it sticks, you may need to sand down the edges or adjust the hinges.
Adding a lid not only enhances the functionality of your storage box but also adds an element of design. Consider how the lid will open—whether it will lift off completely or hinge open.
Step 5: Sanding and Finishing
1. Sand the Edges: Use a sander to smooth all edges and surfaces, removing any splinters. Start with a coarser grit sandpaper and gradually move to a finer grit for a smooth finish.
2. Apply Finish: Choose a finish that suits your style. Apply varnish or stain with a brush, following the manufacturer’s instructions. Allow adequate drying time between coats for the best results.
Sanding and finishing are crucial steps that can dramatically affect the final appearance of your box. A well-finished box not only looks great but also lasts longer by protecting the wood from moisture and wear.
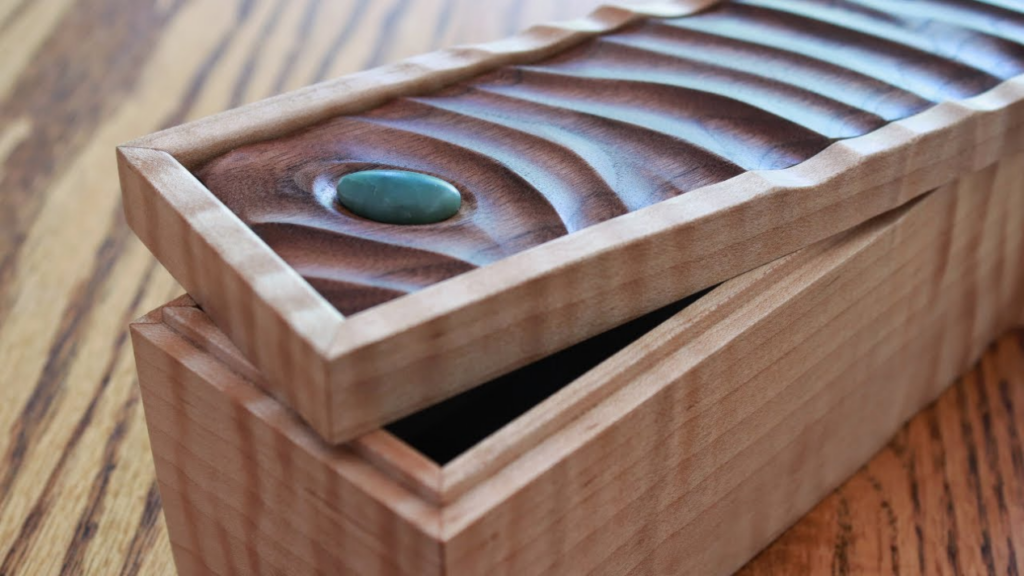
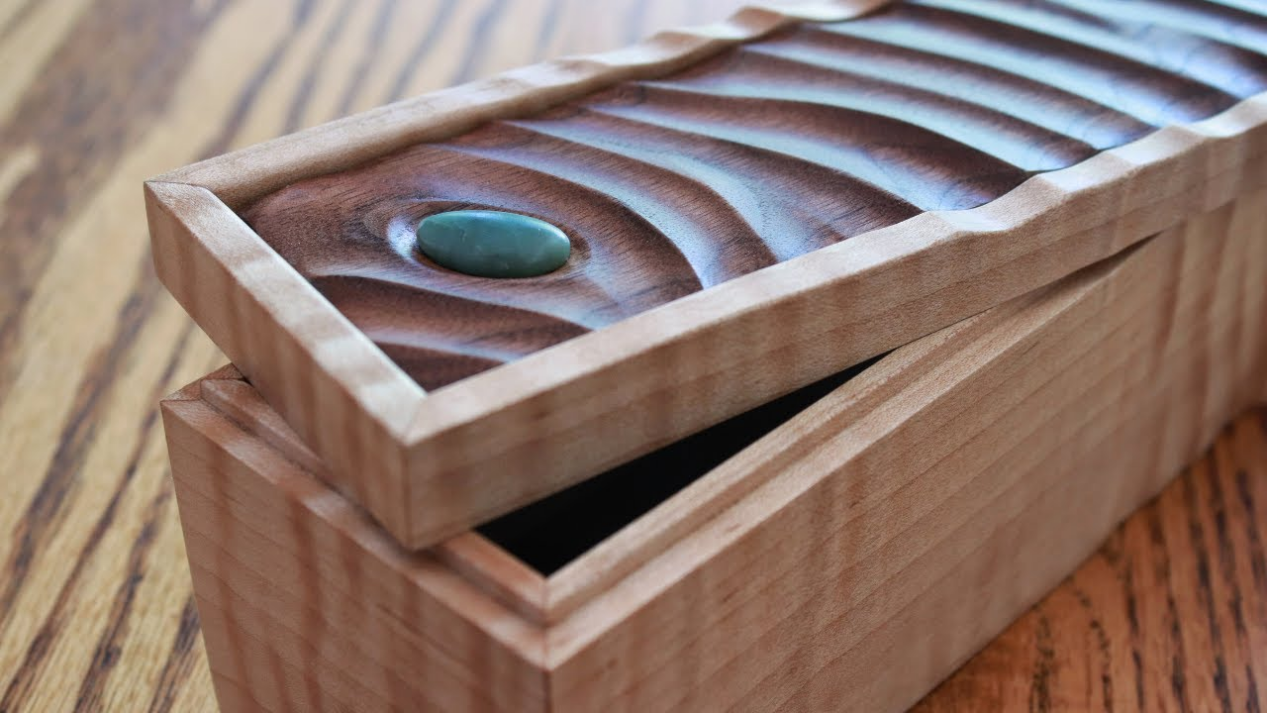
Design Ideas
– Personalized Engravings: Consider adding a name or design to the lid for a personal touch. You can use a wood burner or engraving tool for this.
– Decorative Hardware: Use unique hinges or knobs to enhance the box’s appearance. Vintage or ornate hardware can add character and charm.
– Colorful Finishes: Experiment with different stains or paints to match your decor. You can also use a combination of finishes for a more eclectic look.
Designing your box allows you to express your creativity. Think about how the box will fit into your home and what colors or styles will complement your existing decor.
Common Mistakes to Avoid
– Not Measuring Twice: Always double-check your measurements before cutting. A small mistake can lead to significant issues later on.
– Skipping the Sanding: Sanding is crucial for a smooth finish and to prevent splinters. Don’t rush this step; it can make a big difference in the final product.
– Using Too Much Glue: A little goes a long way; excess glue can make a mess and weaken joints. Apply just enough to create a strong bond without overflow.
Being aware of common pitfalls can help you avoid frustration and ensure a successful project. Take your time and enjoy the process of creating your wood storage box.
Frequently Asked Questions
1. What type of wood is best for a storage box?
Pine is a great choice for beginners due to its affordability and ease of use. For a more durable option, consider oak, which offers a beautiful grain and strength.
2. How can I make my box waterproof?
To make your box waterproof, apply a waterproof sealant or finish after sanding. This will protect the wood from moisture and extend the life of your box.
3. Can I use recycled wood for my project?
Yes, recycled wood can add character to your box, but ensure it is in good condition and free from pests. Reclaimed wood can also be a sustainable choice.
4. How long does it take to build a wood storage box?
Depending on your skill level and the complexity of the design, it can take anywhere from a few hours to a couple of days. Allow extra time for drying between coats of finish.
5. What tools do I need to start woodworking?
Basic tools include a saw, drill, screwdriver, sander, and measuring tape. As you progress, you can invest in more specialized tools, but starting with the basics is sufficient for this project.
Creating a wood storage box is not only a practical project but also a chance to express your creativity. With the right materials, tools, and guidance, you can craft a beautiful piece that serves a purpose in your home. Enjoy the process, and take pride in your handmade creation!
How to purchase:https://looperbuy.com/search?keywords=wood+storage+box