Table of Contents
Introduction
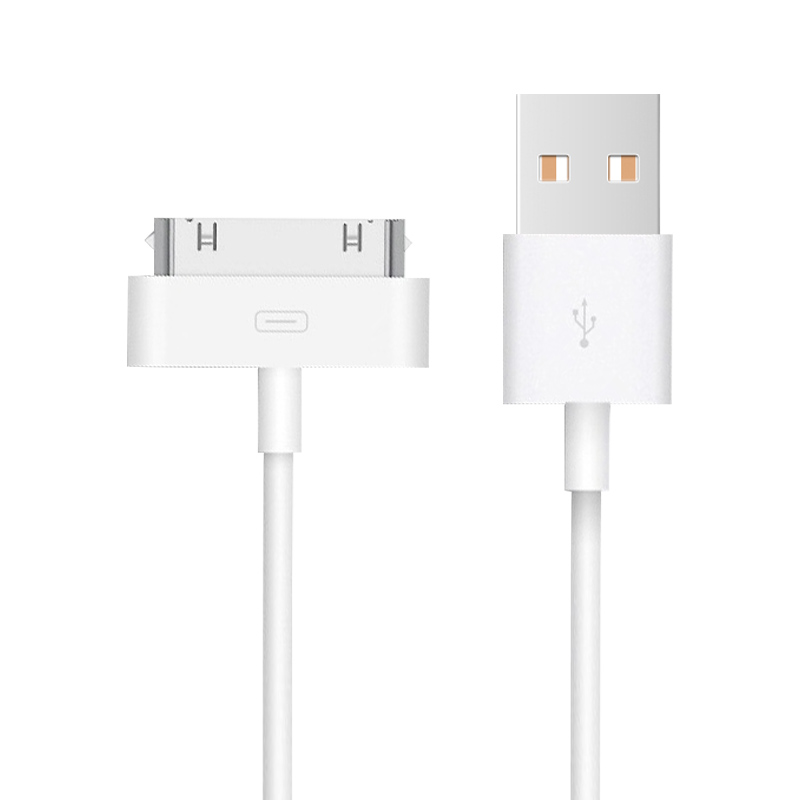
Charging cables are essential for powering and connecting our devices, but they can be prone to damage with frequent use. Whether it’s a frayed cable, a damaged connector, or a kinked section, there are various issues that can affect the functionality of your charging cable. This article will guide you through the process of fixing charging cables, providing step-by-step instructions and useful tips to help you restore your cable to working condition.

Common Charging Cable Issues and Troubleshooting
Physical Damage
One of the most common issues with charging cables is physical damage. This can include fraying, cuts, or kinks in the cable, as well as bent or broken connectors.
- Frayed or Cut Insulation: If the insulation around the wires is damaged, it can expose the internal wires and cause short circuits. To fix this, you can use electrical tape to wrap the affected area, ensuring a snug fit. For more severe damage, you may need to cut out the damaged section and reconnect the wires.
- Bent or Broken Connectors: Connectors can become bent or damaged from frequent plugging and unplugging. If the connector is only slightly bent, you can use a pair of needle-nose pliers to gently bend it back into shape. However, if the connector is severely damaged, it may need to be replaced.
- Kinked Cables: Kinks in cables can sometimes be resolved by applying gentle heat to the affected area. You can place the kinked section on a warm radiator for a few minutes and then carefully straighten it with your hands. Alternatively, you can heat the cable in a hot water bath and then smooth it by hand.
Loose or Corroded Connections
Loose connections between the wires and the connectors can cause charging issues or prevent the device from recognizing the cable. Corrosion on the connectors or wires can also lead to faulty charging.
- Loose Connections: To fix loose connections, use a wire stripper to remove any insulation around the wires. Twist the wires together to secure the connection and then apply electrical tape to hold the wires in place.
- Corroded Connections: For corroded connections, use a corrosion remover or baking soda to clean the affected area. After cleaning, apply a small amount of petroleum jelly to protect the connections.
Device or Charger Port Issues
Sometimes, the problem may not be with the charging cable itself but with the device’s charging port or the charger’s output. Make sure to rule out these possibilities before fixing the cable.
- Check the Device’s Charging Port: Inspect the device’s charging port for any debris, dust, or corrosion. Clean the port using a soft brush or cloth to ensure a secure connection.
- Test the Charger: Try using the charger with another device to see if it works. If it charges another device, the issue may be with the original device rather than the charger.

DIY Repair Guides
Tools and Materials Needed
Before you start repairing your charging cable, gather the necessary tools and materials. You will need a wire stripper or scissors, electrical tape or heat-shrink tubing, a soldering iron and solder (if needed), and possibly a replacement connector or charging port repair kit.
Step-by-Step Repair Instructions
Repairing Bent or Damaged Connectors
- Bent Connectors: Use a pair of needle-nose pliers to gently bend the connector back into shape. Apply a small amount of pressure to avoid breaking the connector.
- Damaged Connectors: If the connector is too damaged to repair, use a replacement connector or a charging port repair kit. Follow the manufacturer’s instructions to replace the connector.
Fixing Frays or Cuts in the Insulation
- Minor Frays: Use electrical tape to wrap the affected area, ensuring a snug fit. Apply a small amount of pressure to secure the tape.
- Major Cuts or Frays: Use a soldering iron to connect the exposed wires. Apply heat-shrink tubing to insulate the wires. Slide the tubing over the connection and use a heat source to shrink it.
Treating Loose or Corroded Connections
- Loose Connections: Use a wire stripper to remove any insulation around the wires. Twist the wires together to secure the connection. Apply electrical tape to hold the wires in place.
- Corroded Connections: Use a corrosion remover or baking soda to clean the affected area. Apply a small amount of petroleum jelly to protect the connections.

When to Replace Your Charging Cable
While DIY repairs can be effective, there are times when it’s better to replace your charging cable altogether.
- Extensive Damage: If the damage is extensive, such as multiple frays or cuts, or if the cable is no longer recognizable, it’s time to replace it.
- Fire Hazards: If the cable has exposed wires, sparks, or shows signs of overheating, it’s a fire hazard, and you should replace it immediately.
- Old or Outdated Cable: If your charger cable is old or outdated, it may not be compatible with newer devices or charging standards. Consider replacing it with a modern, high-quality cable.
Best Practices for Maintaining Your Charger Cable
To extend the life of your charger cable, follow these best practices.
- Handle With Care: Avoid bending, twisting, or forcing the cable into tight spaces. Store the cable in a protective case or wrap it neatly to prevent tangles.
- Regularly Inspect the Cable: Check the cable regularly for signs of damage, such as frays, cuts, or corrosion. Clean the connectors and charging port regularly to prevent corrosion.
- Use a High-Quality Cable: Invest in a high-quality charger cable designed specifically for your device. Avoid using cheap or counterfeit cables that can cause damage to your device.
Conclusion
Fixing a charging cable can be a straightforward DIY project with the right tools and guidance. By following the troubleshooting steps and repair guides provided in this article, you can restore your charging cable to working condition and extend its lifespan. Remember to handle your charger cable with care and replace it when necessary to ensure safe and efficient charging.
How to Purchase:https://looperbuy.com/search?keywords=how+to+fix+charging+cable
Related Questions & Answers
· How can I fix a frayed charging cable?
You can fix a frayed charging cable by using electrical tape to wrap the affected area. For more severe damage, cut out the damaged section and reconnect the wires using a soldering iron and heat-shrink tubing.
· What tools do I need to repair a charging cable?
To repair a charging cable, you will need a wire stripper or scissors, electrical tape or heat-shrink tubing, a soldering iron and solder (if needed), and possibly a replacement connector or charging port repair kit.
· When should I replace my charging cable instead of repairing it?
You should replace your charging cable if the damage is extensive, such as multiple frays or cuts, or if the cable poses a fire hazard with exposed wires or sparks. Old or outdated cables that are incompatible with newer devices should also be replaced.
· How can I prevent future charging cable issues?
To prevent future charging cable issues, handle the cable with care by avoiding unnecessary bending and twisting. Regularly inspect the cable for damage and clean the connectors and charging port. Invest in a high-quality charging cable designed for your device.
· What are the common signs of a broken charger?
Common signs of a broken charger include inconsistent charging, no charging at all, and visible physical damage on the cable, connectors, or charging adapter.
Hot Tags: Charging Cable Repair; DIY Fix for Charging Cable; Troubleshooting Charging Cable Issues; How to Repair Damaged Charging Cable; Charging Cable Maintenance; Common Charging Cable Problems; Charging Cable Replacement; Fix Bent Charging Cable Connector; Repair Frayed Charging Cable