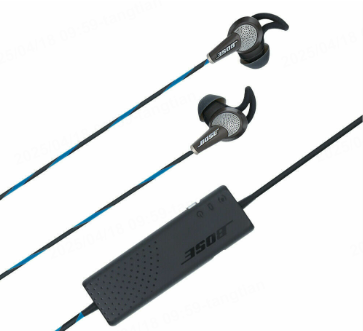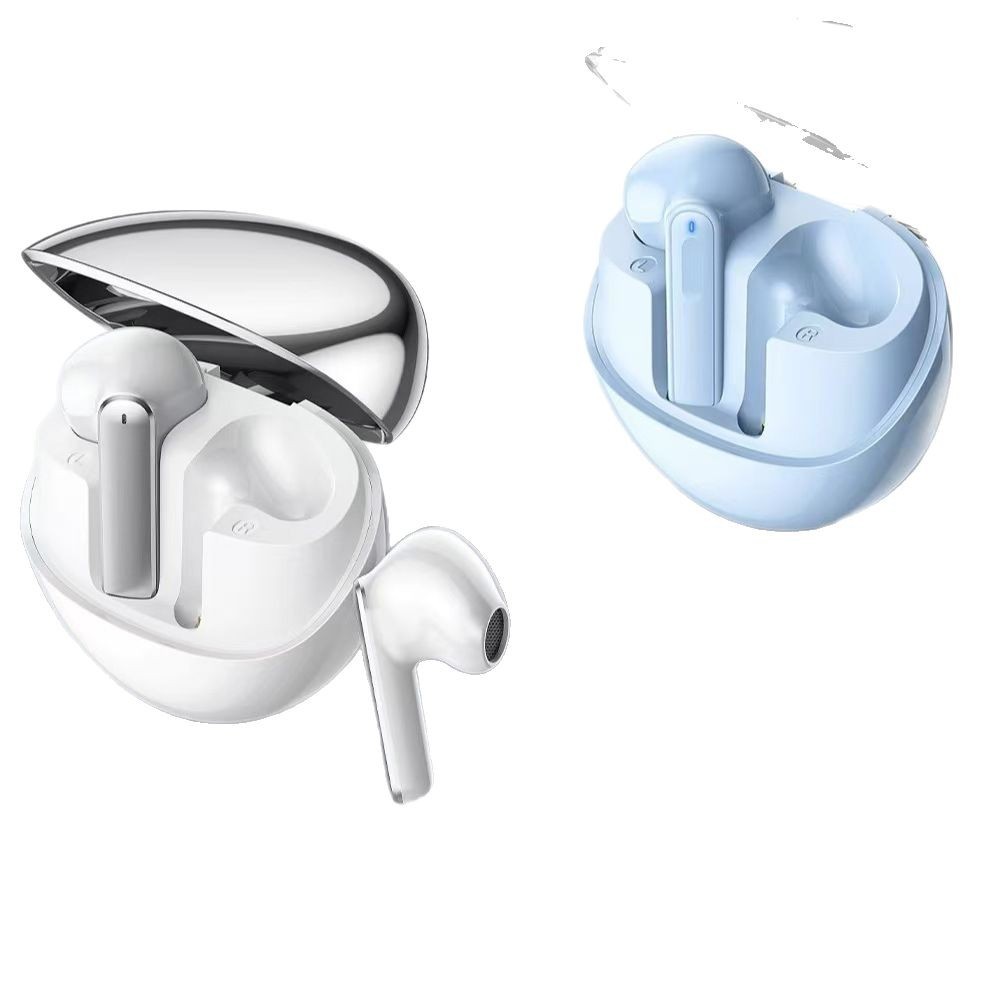
Many headphone users experience the frustration of ear pads suddenly popping off or becoming loose after months of daily wear. Whether you are using high-end studio gear or affordable everyday headphones, the ear pads—often called headphone covers—are designed to be replaceable. Understanding how to securely reattach them is an essential skill that can save you from unnecessary repairs or the impulse to buy a new headset prematurely. This guide will walk you through the most effective, stress-free methods to restore your headphones to their former comfort and acoustic glory.
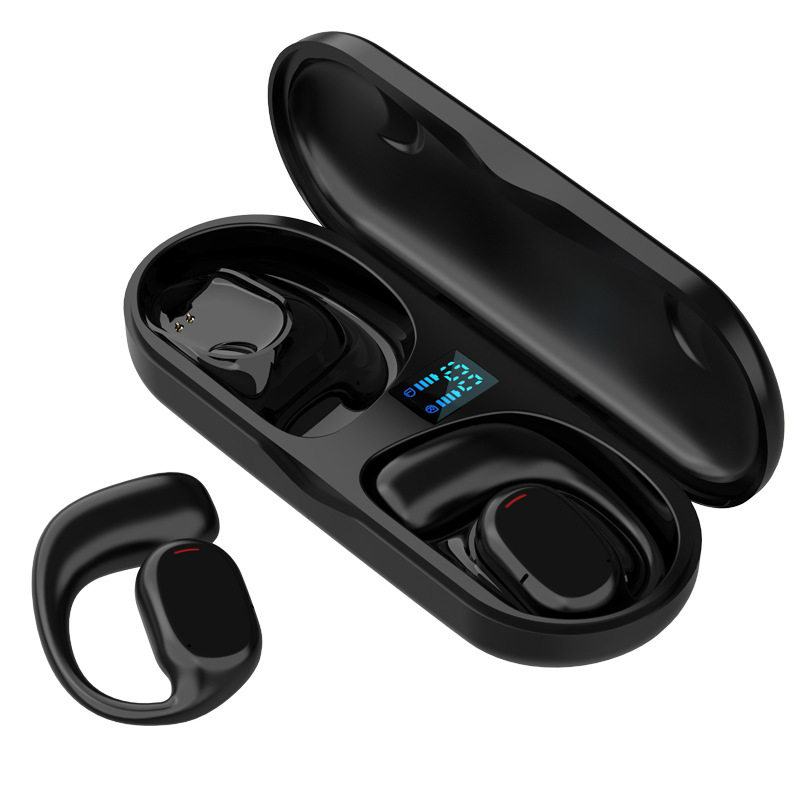
Table of Contents
Understanding Your Headphone Cushion Attachment Mechanism
Before attempting to force a cover back onto your headset, it is crucial to understand that not all headphones are built the same way. The attachment method is usually determined by the design of the ear cup, and identifying your specific type is the first step toward a successful fix.
Identifying the Mounting Style
Most consumer and professional headphones utilize one of three primary methods to secure their ear pads. Recognizing these will save you significant time and prevent potential damage to the delicate materials.
- The Snap-On Mechanism: These pads feature small plastic tabs or a circular mounting ring that snaps directly into the plastic body of the ear cup. You will often hear a distinct “click” when these are correctly positioned.
- The Stretched-Over (Grooved) Method: This is the most common design, where the rear edge of the ear pad has a thin flap of material (frequently leatherette or fabric) that needs to be tucked into a narrow groove or channel running along the circumference of the ear cup.
- The Adhesive or Permanent-Style Pad: Some headphones, particularly ultra-lightweight or specific gaming models, use double-sided adhesive rings to hold the cushion in place. If your pads fell off and you see residue, they likely require a new adhesive strip rather than a simple mechanical stretch.
Why Do Covers Fall Off?
Ear pad failure is rarely a sign of a broken headset. It is usually the result of the natural degradation of materials over time. Heat, sweat, and constant pressure cause the internal structural components of the pad to stretch or lose elasticity. When the “lip” of the material loses its tension, it no longer maintains a firm grip on the ear cup groove, leading to the pads sliding off during normal use. Additionally, environmental factors like humidity can cause the synthetic leather or protein leather to harden, further reducing the grip they have on the mounting surface.
Detailed Techniques for Reattachment
For the majority of users with the standard “stretched-over” design, the process can be accomplished in just a few minutes with a little patience and the right technique. Mastering this process is essentially about managing tension.
Preparing for the Installation
Before starting, ensure your workspace is clean. Dust and debris can interfere with the seal of the ear pad. If you are dealing with a sticky residue from an old adhesive, take a moment to gently wipe the area with a soft cloth and a tiny amount of isopropyl alcohol, ensuring the ear cup surface is smooth and free of obstruction before you begin the reattachment process. Cleaning the area thoroughly also allows the new pad to sit perfectly flush, which is critical for noise isolation.
The Professional “Hook and Roll” Technique
This technique is widely considered the most reliable way to seat a stubborn ear pad into its groove without tearing the material.
- Position the Headphone: Hold the ear cup firmly in one hand, or place the headset on a table with the target ear cup facing upward. Stability is key to avoiding accidental slips.
- Establish the Starting Point: Locate the seam of the ear pad cushion—this is often the weakest point, so it is best to place it at the bottom of the ear cup. Hook the inner lip of the ear pad into the groove at the base of the cup.
- Secure and Rotate: While maintaining pressure with your thumb on the already-secured section, use your other hand to stretch the remaining portion of the ear pad over the edge. Gradually feed the lip of the cushion into the groove, moving around the circumference of the ear cup. If you find the material is not slipping in, use a thin, blunt tool like a guitar pick or a non-sharp plastic spudger to nudge the edge of the fabric into the channel without puncturing the material.
- Final Adjustments: Once you have made it all the way around, gently squeeze the outer edges of the ear pad to ensure the entire lip is fully seated within the groove. If you notice any gaps, gently pull on the cushion in that area to encourage the material to seat itself properly.
Mastering Snap-On Installations
If your headphones utilize a plastic mounting plate or snap-on ring, the process is slightly different. Instead of stretching, you are aligning. First, remove the entire mounting ring from the cushion (if it’s not already separated). Place the ring onto the ear cup until you see the alignment pins. Press down firmly in each location until you hear that satisfying click. Once the ring is secure, you can stretch the fabric cover over the ring itself, or in some cases, the cushion and ring are a single unit that snaps into the cup.
Advanced Maintenance and Troubleshooting
Even with the best technique, you might encounter issues that prevent a smooth installation. Do not panic; most of these are easily resolved with simple adjustments and a bit of mechanical patience.
Handling Tight-Fitting Pads
If the pad feels too tight to stretch over the earcup, do not use excessive force, as you risk ripping the seams. Instead, place the replacement pads in a warm (not hot) environment for a few minutes. A blow dryer set on low heat can warm the material, making it significantly more pliable. The heat will soften the material and increase its flexibility, making it much easier to stretch over the rim of the ear cup without stress.
Ensuring a Perfect Acoustic Seal
A common mistake is incorrectly positioning the pad, which can result in “sound leakage.” This happens when the cushion is not seated evenly, causing a gap between your ear and the ear cup. This significantly impacts your bass response and noise isolation. If the audio sounds thin or unbalanced after your repair, check the perimeter of the cushion again. A uniform, secure fit is essential for the intended acoustic performance. If you notice the seal is still not perfect, try rotating the pad slightly to see if the tension is more evenly distributed.
The Role of Preventive Maintenance
To avoid having to repeat this process too often, practice good maintenance. After a long listening session, wipe your pads down with a soft, dry cloth to remove salt and sweat. Oils from your skin are the primary enemy of synthetic leather pads; they break down the chemical bonds in the material and cause it to crack and loosen. By cleaning your cushions regularly, you maintain the elasticity of the material, which helps them stay gripped to the headphones for much longer.
When to Finally Give Up on the Old Cushion
Sometimes, the issue is not with your installation technique, but with the cushion itself. If the synthetic material is flaking, the foam is completely flattened, or the elastic lip has permanently lost its shape, no amount of reattachment will make it comfortable again. In these cases, it is time to invest in a new pair of ear cushions. They are relatively inexpensive and can make a three-year-old pair of headphones feel brand new. Investing in higher-quality aftermarket pads—such as those made from sheepskin or cooling gel-infused fabric—can actually improve the comfort and sound signature of your headphones significantly.
Expanding the Lifespan of Your Equipment
The longevity of your headphones is directly tied to how you care for them. When you are done listening, do not just toss them into a bag. Using a dedicated hard-shell case prevents the ear pads from being compressed by other items, which preserves their shape and keeps them from detaching. Furthermore, store your headphones in a cool, dry place. Excessive humidity can weaken the adhesive bonds if your headphones use that mounting style, and direct sunlight can cause the outer material of the pads to become brittle and prone to tearing. By treating your headphones like a precision instrument rather than a disposable accessory, you will find that you have to perform these reattachment fixes far less often.
Conclusion
Successfully reattaching your headphone cover is a straightforward process once you understand the mechanical design of your headset. By identifying whether your pads use a snap-on, groove, or adhesive system, you can choose the right approach to ensure they stay secure. Whether you use the “hook and roll” method for standard cups or simply snap them back into their factory mounts, patience and a gentle touch are your best tools. Proper maintenance of your cushions not only ensures lasting comfort during long listening sessions but also preserves the intended sound quality of your audio equipment. By following these simple steps, you can effectively extend the lifespan of your headphones and continue enjoying high-quality audio for years to come. Ultimately, a little bit of care and technical know-how goes a long way in ensuring your gear performs at its peak.
How to purchase:Online B2B sourcing platform, China purchase, Chinese suppliers – LooperBuy
Summary
This guide provides a comprehensive overview of how to reattach headphone cushions. It helps users identify different attachment mechanisms—snap-on, grooved, and adhesive—and offers a detailed, step-by-step “hook and roll” technique for standard stretched-over pads. The article also dives into advanced maintenance tips, such as using gentle heat to improve pliability, the importance of cleaning sweat to prevent material degradation, and advice on when it is time to invest in high-quality aftermarket replacements to boost both comfort and acoustic performance.
Hot Tags:
Headphone Repair; Ear Pad Replacement; Audio Gear Maintenance; Headphone Comfort; DIY Headphone Fix; Earcup Cushion Guide; Headphone Accessories; Sound Isolation; Audio Equipment Care; Headphone Troubleshooting; Over-ear Headphones; On-ear Headphones; Earpad Installation; Headset Maintenance; Foam Cushion Replacement; Audio Gadgets; Tech Tips; Headphone Comfort Upgrades; DIY Tech Support; Earcup Seals; Headset Repair Guide; Comfortable Listening; Audio Performance; Headphone Longevity; Accessory Installation; Headphone Care Tips; Tech DIY; Audio Accessory; Headset Comfort; Professional Audio Gear
Related Questions & Answers
· Why do my ear pads keep falling off?
The elastic material or the plastic mounting tabs on the ear pads may have stretched or worn out due to heat, sweat, or regular friction, causing the pads to lose their secure grip on the ear cups.
· Do all replacement ear pads fit all headphones?
No, ear pads are typically designed for specific headphone models or series; it is essential to check for compatibility or dimensions before purchasing replacements.
· Is it okay to use glue to fix headphone pads?
Generally, avoid using strong glue as it can damage the plastic and make future replacements impossible; if your pads use adhesive, use only the specific double-sided tape designed for that headphone model.
· How can I make my headphones more comfortable while waiting for new pads?
You can use soft, thin fabric covers (like earphone socks) or, as a temporary measure, carefully tuck the edges of the existing pads back into the groove if they are just loose and not physically damaged.
· What is the best way to clean my ear pads?
Use a slightly damp, soft cloth with a mild soap solution to gently wipe the surface, then allow them to air dry completely away from direct sunlight or heat sources to prevent material cracking.