Installing a Hotoe brace with a plastic bag is a practical solution for various medical and therapeutic needs. This article will guide you through the process, discussing the benefits, materials required, and step-by-step instructions for a successful installation. By understanding the intricacies of both the brace and the installation process, you can ensure optimal support and comfort during recovery.
Table of Contents
Understanding the Hotoe Brace
What is a Hotoe Brace?
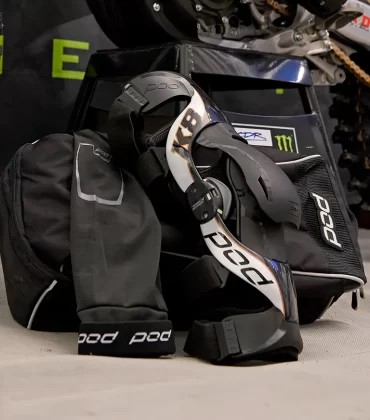
A Hotoe brace is a supportive device designed to stabilize and protect specific body parts, often used in rehabilitation settings. It is commonly utilized for injuries or conditions affecting the ankle, knee, or wrist. The brace provides compression and support, which can help reduce pain and promote healing. The design of the Hotoe brace typically includes adjustable straps and padding, allowing for a customized fit that accommodates various body shapes and sizes. This adaptability is crucial for ensuring that the brace functions effectively while remaining comfortable for the user.
Benefits of Using a Hotoe Brace
The primary benefits of using a Hotoe brace include:
– Stability: It helps stabilize the injured area, preventing further injury. This is particularly important during the early stages of recovery when the risk of re-injury is high.
– Pain Relief: The compression provided by the brace can alleviate pain and swelling. By applying consistent pressure to the affected area, the brace can help reduce inflammation and improve blood circulation, which is essential for healing.
– Mobility: It allows for some degree of movement while still offering support. This balance between stability and mobility is vital for rehabilitation, as it encourages gradual movement without compromising safety.
– Versatility: Hotoe braces can be used for various injuries and conditions. Whether recovering from a sprain, strain, or post-surgical rehabilitation, the Hotoe brace can be adapted to meet specific needs.
The Role of Plastic Bags in Installation
Why Use a Plastic Bag?
Using a plastic bag during the installation of a Hotoe brace serves several purposes:
– Moisture Barrier: It protects the brace from moisture, which can be crucial if the brace is used in a wet environment or during physical therapy. Moisture can weaken the materials of the brace and lead to discomfort or skin irritation.
– Comfort: A plastic bag can provide a smoother surface against the skin, reducing friction and discomfort. This is especially beneficial for individuals with sensitive skin or those who may experience chafing from the brace.
– Ease of Cleaning: Plastic bags can be easily replaced or cleaned, maintaining hygiene. This is particularly important in medical settings where cleanliness is paramount to prevent infections.
Materials Needed for Installation
Before starting the installation process, gather the following materials:
– Hotoe brace
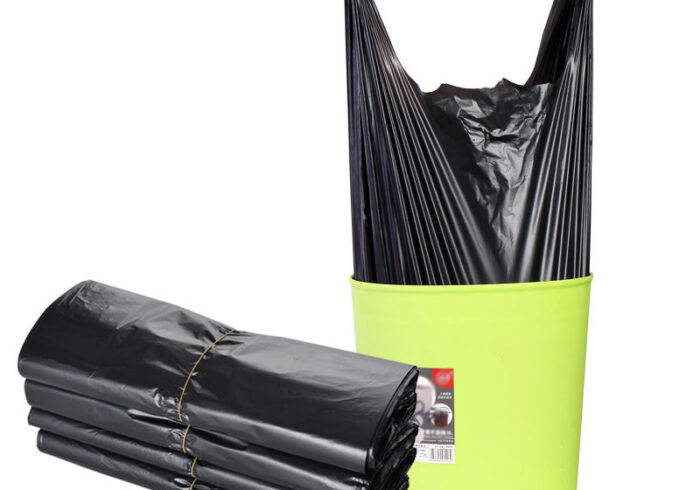
– Plastic bag (preferably a sturdy, resealable type)
– Scissors (if adjustments are needed)
– Tape or Velcro straps (for securing the brace)
– A clean, flat surface for assembly
Having all the necessary materials on hand will streamline the installation process and ensure that you can focus on achieving the best fit and comfort for the user.
Step-by-Step Installation Guide
Preparing the Hotoe Brace
Begin by preparing the Hotoe brace for installation. Ensure that it is clean and free from any debris. If necessary, adjust the size of the brace to fit the specific body part it will support. This may involve loosening or tightening straps to achieve the desired level of compression and support. Taking the time to properly prepare the brace will enhance its effectiveness and comfort during use.
Preparing the Plastic Bag
Take the plastic bag and ensure it is large enough to accommodate the brace. If the bag is too large, you may trim it down to size. The goal is to create a snug fit that will not interfere with the brace’s function. A well-fitted plastic bag will help maintain the integrity of the brace while providing a protective barrier against moisture and dirt.
Securing the Plastic Bag
Place the Hotoe brace inside the plastic bag. Ensure that the brace is fully enclosed, with no parts sticking out. This will help maintain the integrity of the brace and provide a moisture barrier. Make sure the bag is sealed properly to prevent any slipping or movement during use, which could compromise the support the brace offers.
Attaching the Brace
With the brace secured in the plastic bag, it’s time to attach it to the body part needing support. Position the brace correctly, ensuring that it aligns with the anatomical structure. Use tape or Velcro straps to secure the brace in place. Make sure it is snug but not too tight, as this could restrict blood flow. Proper attachment is crucial for the brace to function effectively, providing the necessary support without causing discomfort.
Final Adjustments
Once the brace is attached, check for comfort and adjust as necessary. Ensure that the plastic bag does not cause any irritation against the skin. If it does, consider using a softer material or a different type of bag. It’s important to regularly check the fit and comfort of the brace, especially during the initial days of use, as swelling may occur and adjustments may be needed.
Maintenance and Care
Cleaning the Hotoe Brace
To maintain the Hotoe brace, regularly clean it according to the manufacturer’s instructions. This may involve wiping it down with a damp cloth or using specific cleaning solutions designed for medical equipment. If the plastic bag becomes dirty or damaged, replace it immediately to ensure continued protection and hygiene. Regular maintenance will prolong the life of the brace and ensure it remains effective throughout the recovery process.
Monitoring for Issues
Keep an eye on the area where the brace is applied. Look for signs of irritation, swelling, or discomfort. If any issues arise, consult a healthcare professional for advice. Early detection of problems can prevent more serious complications and ensure that the recovery process remains on track.
Conclusion
Installing a Hotoe brace with a plastic bag is a straightforward process that can enhance the effectiveness of the brace while providing additional comfort and protection. By following the steps outlined in this article, you can ensure a proper installation that supports healing and recovery. Understanding the importance of each component in the installation process will empower you to make informed decisions about your rehabilitation journey.
How to purchase:https://looperbuy.com/search?keywords=Plastic+Bag
Frequently Asked Questions
1. What is the purpose of a Hotoe brace?
A Hotoe brace is designed to provide support and stability to injured or weakened body parts, helping to alleviate pain and promote healing. It is particularly beneficial for individuals recovering from injuries or surgeries.
2. Can I use any plastic bag for installation?
While any plastic bag can be used, it is best to choose a sturdy, resealable bag that can withstand wear and tear. This ensures that the bag will effectively protect the brace and maintain hygiene.
3. How often should I replace the plastic bag?
Replace the plastic bag whenever it becomes dirty, damaged, or if you notice any signs of wear. Keeping the bag clean is essential for maintaining the overall hygiene of the brace.
4. Is it safe to wear a Hotoe brace for extended periods?
Yes, but it is essential to monitor for any signs of discomfort or irritation. Consult a healthcare professional if you have concerns about prolonged use, as they can provide guidance tailored to your specific situation.
5. Can I adjust the Hotoe brace after installation?
Yes, you can make adjustments to ensure a proper fit and comfort level. Just be cautious not to compromise the support it provides, as proper alignment is crucial for effective healing.