Wood carving is a timeless craft that allows individuals to express their creativity while working with a natural material. For beginners, the world of wood carving can seem daunting, but with the right tools, techniques, and projects, anyone can start creating beautiful wooden pieces. This guide will walk you through the essentials of wood carving, from selecting the right wood to mastering basic techniques, ensuring you have a solid foundation to build upon.
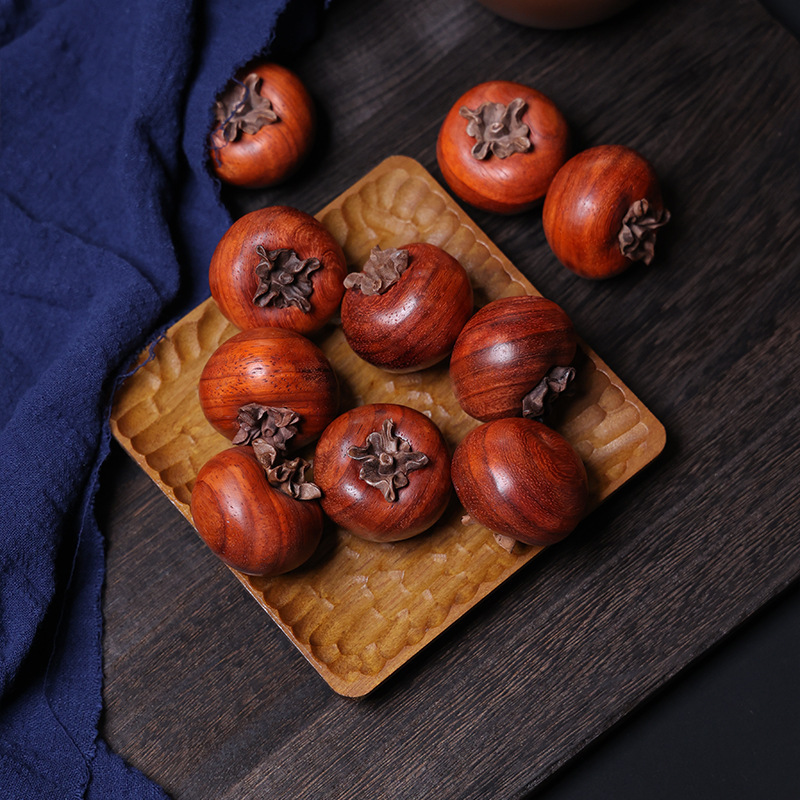
Table of Contents
Understanding Wood Carving
What is Wood Carving?
Wood carving is the art of shaping wood into decorative or functional objects using hand tools or power tools. This craft has been practiced for centuries, resulting in a rich tradition of techniques and styles. Whether you want to create intricate sculptures, simple utensils, or decorative items, wood carving offers endless possibilities.
Benefits of Wood Carving
Engaging in wood carving provides numerous benefits, including:
- Creativity: It allows you to express your artistic side and create unique pieces.
- Relaxation: The repetitive motions and focus required can be meditative, helping to reduce stress.
- Skill Development: As you carve, you develop fine motor skills and hand-eye coordination.
- Connection to Nature: Working with wood fosters a deeper appreciation for natural materials.
Getting Started with Wood Carving

Choosing the Right Wood
For beginners, selecting the right type of wood is crucial. Here are some excellent options:
- Basswood: Soft and easy to carve, making it ideal for beginners. Its fine grain allows for detailed work, and it holds paint and finishes well.
- Butternut: Similar to basswood but with a slightly richer color and grain. It is also soft and easy to carve, making it a favorite among beginners.
- Pine: Readily available and affordable, though it can be a bit more challenging due to its knots. It is suitable for larger projects and can be used for both carving and construction.
When starting, avoid harder woods like oak or maple, as they require more advanced techniques and tools. Additionally, consider the moisture content of the wood; seasoned wood is easier to carve and less likely to crack.
Essential Tools for Beginners
Investing in the right tools is essential for a successful start in wood carving. Here’s a list of basic tools you should consider:
- Carving Knife: A sharp knife is fundamental for whittling and shaping wood. Look for a knife with a comfortable grip and a blade that holds its edge well.
- Gouges: These come in various shapes and sizes, allowing for different carving techniques. A basic set of gouges will enable you to create curves and details in your work.
- Chisels: Useful for making precise cuts and details. A few different sizes will help you tackle various projects.
- Sharpening Tools: Keeping your tools sharp is vital for effective carving. A sharpening stone or strop will help maintain the edges of your knives and gouges.
Safety First
Before you begin carving, it’s important to prioritize safety. Always carve away from your body, use a stable work surface, and wear protective gear if necessary. Familiarize yourself with your tools and practice safe handling techniques. Here are some additional safety tips:
- Use a Cutting Board: Place your wood on a cutting board or a stable surface to prevent slipping.
- Keep Your Workspace Organized: A clutter-free workspace reduces the risk of accidents.
- Take Breaks: Carving can be physically demanding. Take regular breaks to avoid fatigue and maintain focus.
Basic Wood Carving Techniques
Whittling
Whittling is one of the simplest forms of wood carving and is perfect for beginners. It involves using a knife to remove small pieces of wood to create shapes or figures. Start with a small block of wood and practice making simple cuts. As you gain confidence, you can try more complex designs. Here are some techniques to enhance your whittling skills:
- Push Cuts: This technique involves pushing the knife away from your body to remove wood. It’s ideal for shaping the edges of your project.
- Pull Cuts: Pulling the knife towards you can provide more control, especially for detailed work.
- V-Cuts: Using a V-gouge, you can create lines and details in your carving. This technique is great for adding texture and depth.
Relief Carving
Relief carving involves carving into the surface of the wood to create a design that stands out. This technique is great for creating decorative panels or signs. Begin by sketching your design on the wood, then use gouges to carve out the background, leaving the design raised. Here are some tips for successful relief carving:
- Plan Your Design: Sketch your design on paper first, then transfer it to the wood. This will help you visualize the final product.
- Start with the Background: Carve away the background first to make your design pop. This will also help you avoid damaging the raised areas.
- Use Different Tools: Experiment with various gouges and chisels to achieve different textures and effects.
Carving in the Round
This technique involves creating three-dimensional objects by carving all sides of the wood. It requires more skill and a variety of tools but can be incredibly rewarding. Start with simple shapes, like animals or figures, and gradually work your way up to more complex designs. Here are some techniques to consider:
- Blocking Out: Start by removing large sections of wood to create the basic shape of your object. Focus on getting the proportions right before adding details.
- Detailing: Once the basic shape is established, use smaller tools to add details and refine the features of your carving.
- Finishing Touches: Sand the surface to smooth out any rough spots and prepare it for finishing.
Project Ideas for Beginners
Simple Spoon Carving
One of the best projects for beginners is carving a simple spoon. This project allows you to practice various techniques, including shaping the bowl and handle. Start with a piece of basswood, sketch your spoon design, and use your knife and gouges to carve it out. Here’s a step-by-step guide:
- Select Your Wood: Choose a piece of basswood that is about 1 inch thick.
- Draw Your Design: Sketch the outline of your spoon on the wood, including the bowl and handle.
- Rough Out the Shape: Use your carving knife to remove excess wood, focusing on the overall shape.
- Shape the Bowl: Use a gouge to carve out the bowl of the spoon, creating a smooth, rounded surface.
- Refine the Handle: Shape the handle to fit comfortably in your hand, ensuring it is balanced with the bowl.
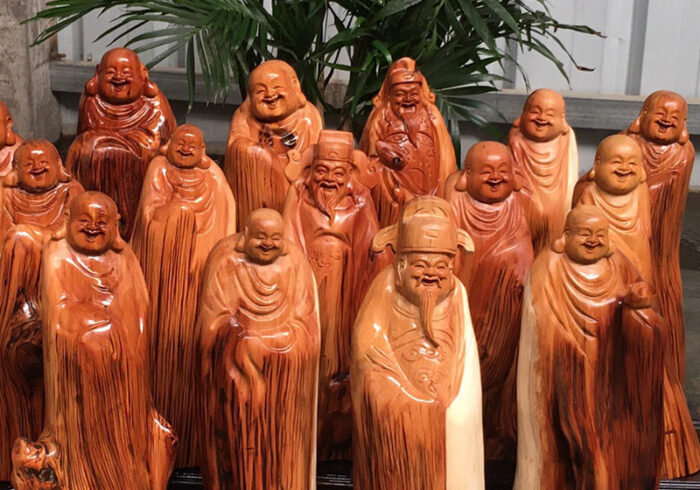
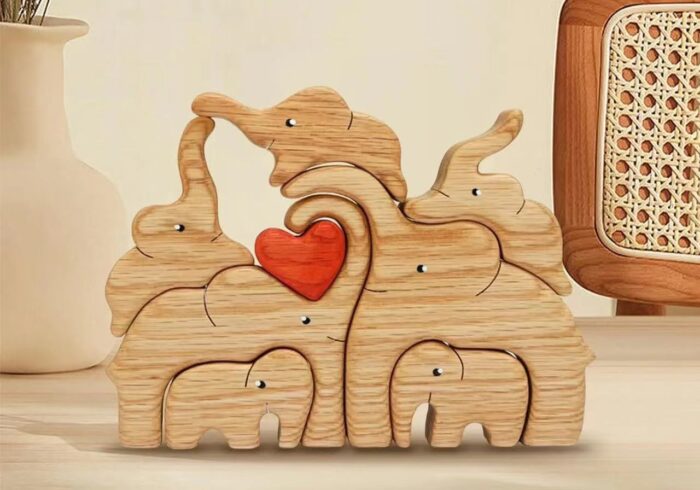
Decorative Figures
Carving small decorative figures, such as animals or people, can be a fun way to practice your skills. Choose a simple design and focus on getting the proportions right. This project will help you develop your eye for detail and improve your carving techniques. Here are some ideas for figures you can carve:
- Animals: Start with simple shapes like birds or fish. These can be carved from a single block of wood and require minimal detailing.
- People: Carving a simple human figure can be more challenging but rewarding. Focus on basic shapes and gradually add details like facial features and clothing.
Wooden Signs
Creating personalized wooden signs is another excellent project for beginners. You can carve names, quotes, or designs into a piece of wood. This project allows you to practice relief carving and can be a great gift for friends and family. Here’s how to create a wooden sign:
- Choose Your Wood: Select a piece of wood that is large enough for your design.
- Design Your Sign: Sketch your text and any additional designs on paper.
- Transfer the Design: Use carbon paper to transfer your design onto the wood.
- Carve the Letters: Use a V-gouge to carve out the letters, ensuring they are deep enough to be visible.
- Finish the Sign: Sand the edges and apply a finish to protect the wood and enhance its appearance.
Advanced Techniques for Wood Carving
As you become more comfortable with basic techniques, you may want to explore more advanced methods. Here are some techniques to consider:
Power Carving
Power carving tools can significantly speed up the carving process and allow for more intricate designs. These tools include rotary tools and power chisels, which can be used for both roughing out shapes and adding fine details. While power carving can be more expensive, it can also open up new possibilities for your projects.
Texturing Techniques
Adding texture to your carvings can enhance their visual appeal. Techniques such as stippling, which involves creating small dots or patterns, can add depth and interest to your work. Experiment with different tools to achieve various textures, and don’t be afraid to combine techniques for unique results.
Finishing Techniques
Once your carving is complete, applying a finish is essential to protect the wood and enhance its appearance. Here are some common finishing techniques:
- Sanding: Use fine-grit sandpaper to smooth the surface of your carving. This step is crucial for achieving a polished look.
- Staining: Applying a wood stain can enhance the natural grain and color of the wood. Choose a stain that complements your design.
- Sealing: A clear sealant can protect your carving from moisture and wear. Consider using a food-safe finish if your carving will be used for utensils.
Tips for Success
- Start Small: Begin with simple projects to build your confidence and skills.
- Practice Regularly: Like any craft, regular practice will improve your abilities.
- Join a Community: Engaging with other wood carvers can provide support, inspiration, and valuable tips.
- Learn from Mistakes: Don’t be discouraged by mistakes; they are part of the learning process.
- Keep Your Tools Sharp: Sharp tools make carving easier and safer.
Conclusion
Wood carving is a fulfilling and creative hobby that anyone can enjoy. By starting with the right materials, tools, and techniques, you can develop your skills and create beautiful wooden pieces. Remember to practice regularly, be patient with yourself, and most importantly, have fun with the process!
How to purchase:Online B2B sourcing platform, China purchase, Chinese suppliers – LooperBuy
Frequently Asked Questions
1. What is the best wood for beginners in wood carving?
Basswood is highly recommended for beginners due to its softness and ease of carving. Other good options include butternut and pine.
2. How do I sharpen my wood carving tools?
Sharpening involves using a sharpening stone or strop. Hold the tool at the correct angle and push it along the stone, finishing with polishing for a keen edge.
3. What are some beginner-friendly projects?
Simple projects include spoon carving, decorative figures, and wooden signs. These allow you to practice various techniques while creating something tangible.
4. How can I improve my wood carving skills?
Regular practice, joining a wood carving community, and learning from experienced carvers can significantly enhance your skills.
5. Is wood carving a safe hobby?
Yes, wood carving can be safe if proper techniques are followed. Always carve away from your body and use a stable work surface.
HOT TAG:wood carving techniques, beginner wood carving projects, carving tools for beginners, relief carving ideas, whittling basics, decorative wood carving, spoon carving tutorial, wood carving safety tips, advanced wood carving techniques, creative woodworking projects, wood finishing techniques, power carving tools, texturing wood carvings, carving in the round, basswood carving projects